

We had the first “real” snow in Texas the other day, after about 6 winters! That makes thinking of snowflake ornaments rather easy.

")
The result is a shiny “cold” blue ornament, decorated with shimmery metallic silver and gold snowflake embroidery, and here is how you can make your own:
Materials

- Original TURTLE Loom™ kit
- About 12 yards of a light blue worsted weight yarn, I used Yarn Bee Soft Secret, color 92 Light Denim
- Metallic embroidery floss, I used artiste HL408 Stardust and HL404 Mercury
- One glass ornament, I used Darice glass disk ornament, 3.15”
- Scissors, tapestry needle
Instructions
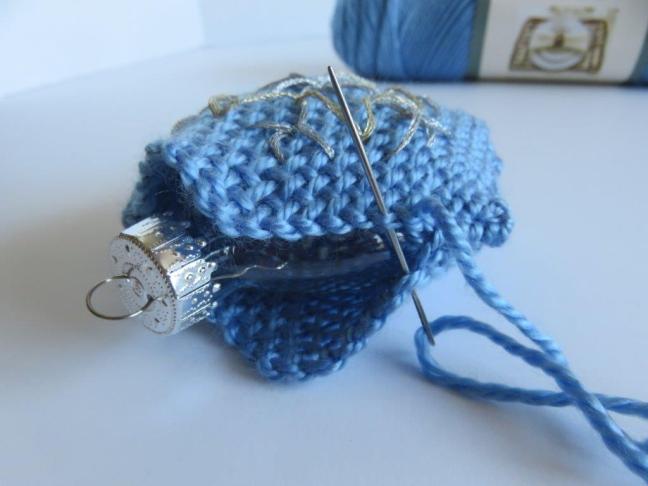
Weave two hexagons. Leave the second hexagon on the loom, it is easier to embroider that way.


Use the photo to guide you with working your snowflake, or make your own. Be creative! Remember, snowflakes are one of a kind.
Tip: When you start to embroider, leave an end of about 4″ hanging to later knot it with the other end when you’re done with your embroidery. This is an easy way to secure your work.
Stitch detail: 6 Long and 6 short straight stitches in silver all originate in the hexagon center and spread out to the hexagon corners and sides. With gold, weave a “star” shape about half way of the long straight stitches. Overlap the long straight stitches to help keep them in place. Lastly, with silver embroider inward pointing arrows over the long stitches. Again, it will hep to keep everything in place.
When you have completed your snowflake, sew the two hexagons – wrong sides facing – together, along 4 sides.
Insert the glass ornament and sew one more side. If needed, pull a thread through the top sides and pull in to fit the neck size of the ornament.
Enjoy, and stay warm!


One thought on “Snowflake Ornament”